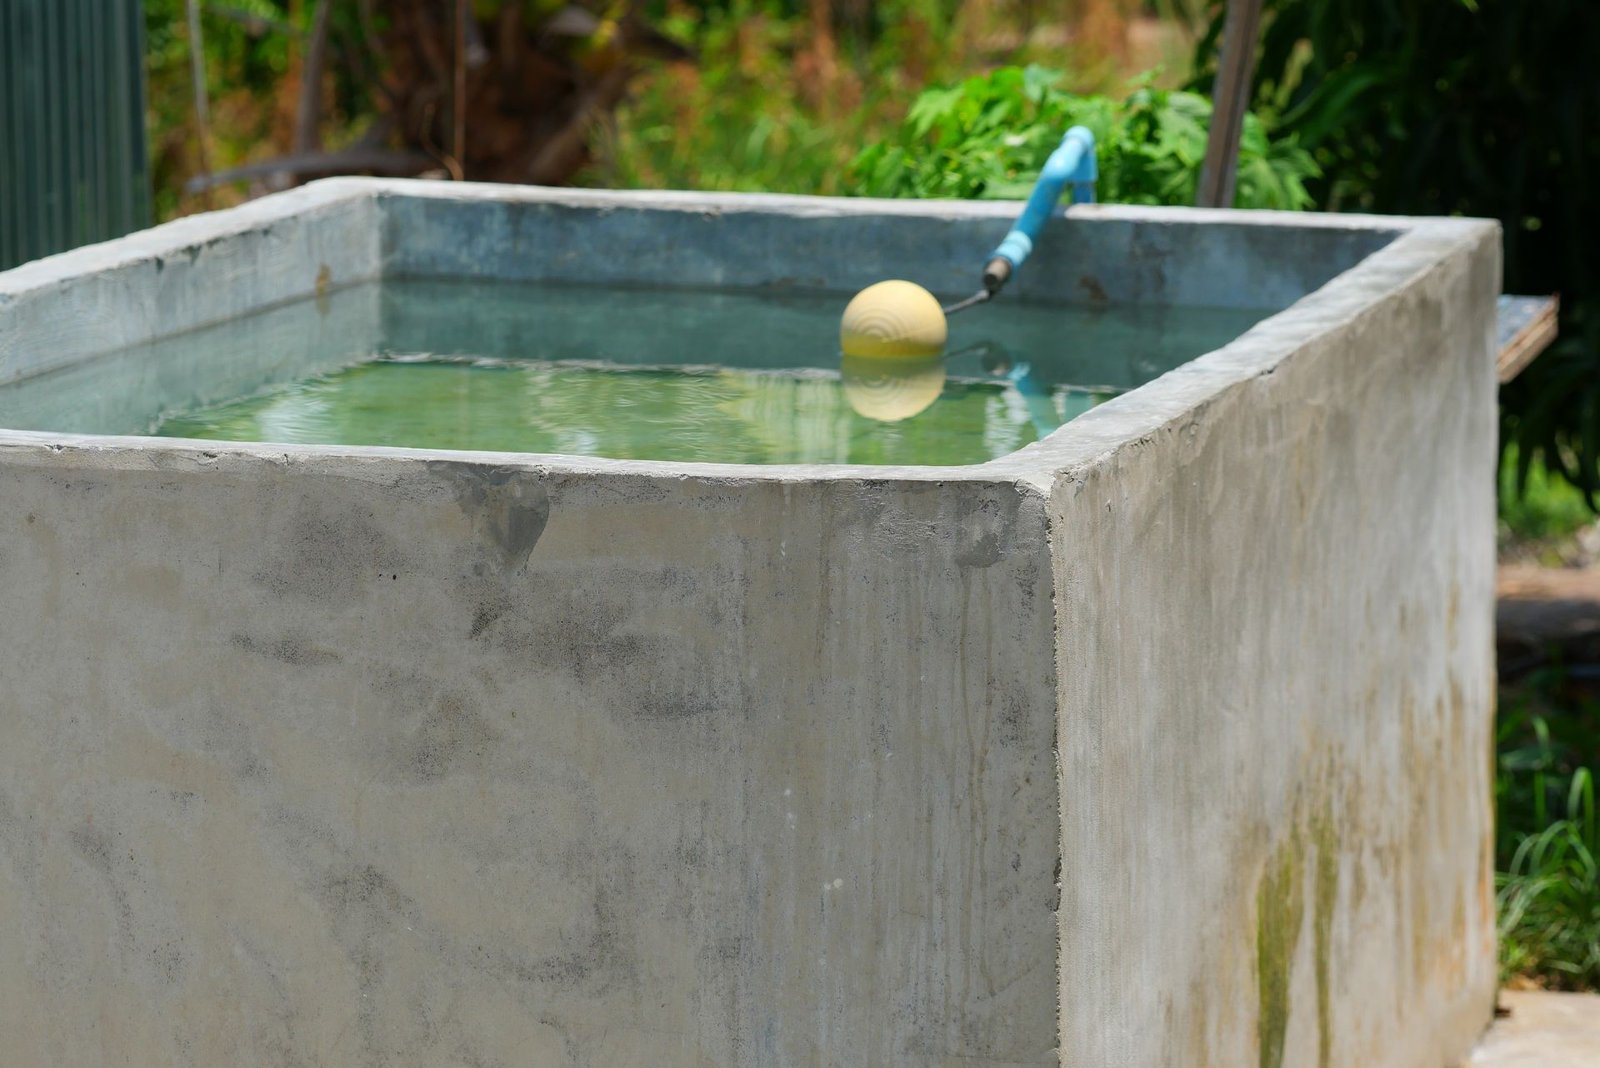
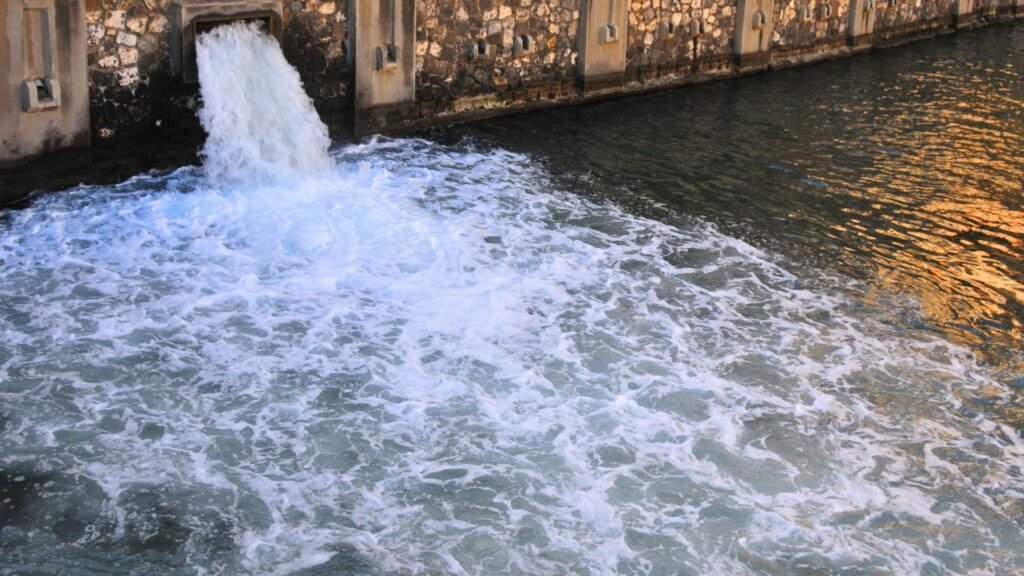
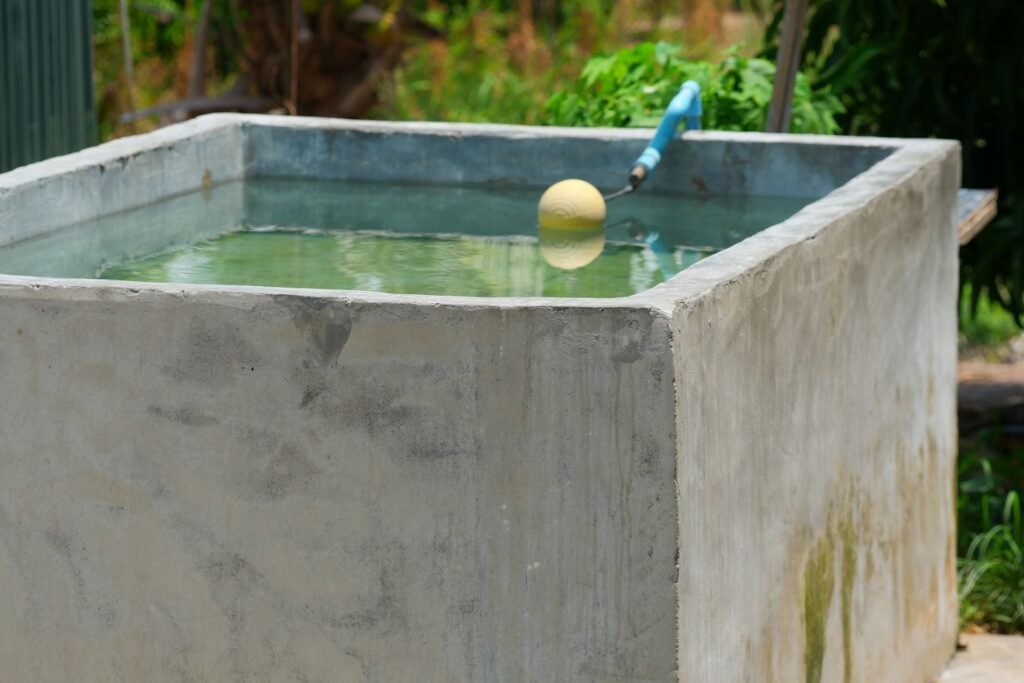
Welcome to our comprehensive guide on how to fix a leaking concrete water tank in New Zealand. Discovering a leak in your water tank can be a stressful experience, but addressing the issue promptly is crucial to prevent water loss, damage, and costly repairs. In this post, we’ll explore the common causes of leaks, provide step-by-step instructions on how to repair them, and offer tips on preventive maintenance to keep your tank in top condition. Whether you’re a homeowner or a property manager, this guide will equip you with the knowledge and confidence to tackle the problem effectively and ensure your water supply remains secure.
To fix a leaking concrete water tank in New Zealand, first, drain the tank and clean the affected area. Apply a suitable waterproofing agent, then use repair mortar or injection techniques to seal small or large cracks. Allow the repair to cure properly before refilling the tank. Regular maintenance and inspections can help prevent future leaks.
Table of Contents
Understanding The Problem
Common Causes of Leaks in Concrete Water Tanks
Concrete water tanks are highly durable and can last for many years, but they are not immune to leaks. Understanding the common causes of these leaks can help you prevent and address issues effectively.
Natural Wear and Tear
Over time, all materials degrade, and concrete is no exception. Natural wear and tear is one of the most common causes of leaks in concrete water tanks. As the tank ages, small cracks can develop, leading to water seepage. This process is gradual and often goes unnoticed until the leaks become significant.
Poor Construction Practices
The quality of construction plays a crucial role in the longevity of a concrete water tank. Poor construction practices, such as improper mixing of concrete, inadequate curing, or insufficient reinforcement, can lead to structural weaknesses. These flaws may not be apparent immediately but can cause leaks as the tank is put into use and subjected to pressure.
Environmental Factors
Environmental factors such as earthquakes, soil movement, and extreme weather conditions can severely impact the integrity of a concrete water tank. Earthquakes and soil movement can cause cracks and shifts in the tank’s structure, leading to leaks. Additionally, prolonged exposure to harsh weather conditions can accelerate the deterioration of the concrete, making it more susceptible to leaks.
Chemical Reactions within the Concrete
Concrete is a porous material that can react with various chemicals present in water or the surrounding environment. For instance, water with a high content of sulfates or chlorides can lead to chemical reactions within the concrete, weakening it over time. These chemical reactions can cause internal cracks and voids, eventually resulting in leaks.
Identifying the Leak
Detecting a leak in a concrete water tank can be challenging but is essential to prevent water wastage and further damage. Here are some steps and tools that can help you identify leaks effectively.
Signs of a Leaking Water Tank
There are several signs that your concrete water tank might be leaking. Look for damp spots or water pooling around the base of the tank. Another indicator is a noticeable drop in water levels that cannot be attributed to normal usage or evaporation. Additionally, check for any visible cracks or discoloration on the tank’s surface, which can signal potential leaks.
Tools Needed for Detection
To accurately identify and locate leaks, you may need some specialized tools:
Dye Tests: Adding a water-soluble dye to the tank can help trace the path of the water. If there’s a leak, the dyed water will seep through the cracks, making it easier to spot.
Pressure Tests: This involves pressurizing the tank and monitoring the pressure levels. A drop in pressure indicates a leak. This method is particularly useful for detecting small or hidden leaks.
Moisture Meters: These devices can detect moisture levels in the concrete, helping you pinpoint areas where water might be seeping through.
Using these tools and being vigilant about the signs of leaks can help you address issues promptly, ensuring the longevity and functionality of your concrete water tank.
Understanding these common causes and detection methods will not only help you maintain your water tank more effectively but also save you from costly repairs and water wastage. Regular inspections and timely maintenance are key to preventing leaks and prolonging the life of your concrete water tank.
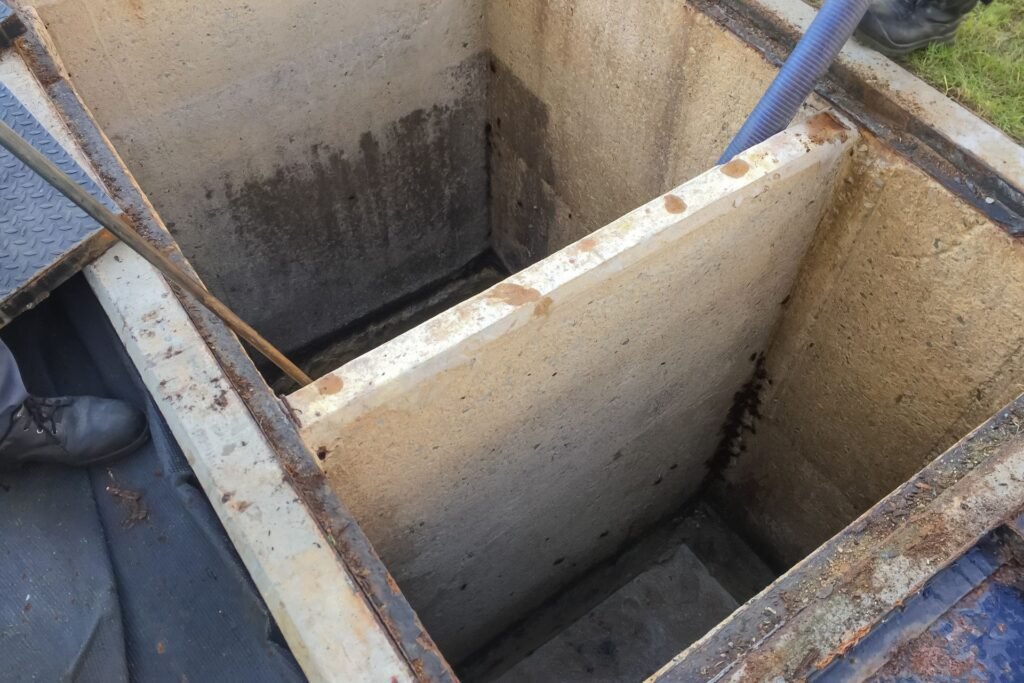
Preparing For The Repair
Safety First
When it comes to fixing a leaking concrete water tank, safety should always be your top priority. Working with concrete and water can present various hazards, so it’s crucial to take the necessary precautions to protect yourself and those around you.
Importance of Safety Gear
The first step in ensuring safety is to wear the appropriate safety gear. This includes:
Gloves: Protect your hands from harsh chemicals and sharp edges.
Goggles: Shield your eyes from debris and splashes of water or chemicals.
Protective Clothing: Wear long sleeves and pants to prevent skin exposure to potentially harmful substances.
These items are not just recommendations; they are essential to safeguard your health and well-being while you work on the repair.
Draining the Tank: Step-by-Step Process
Before you can start repairing the leak, you need to drain the tank. Here’s a detailed step-by-step process to do it safely and efficiently:
1. Turn Off the Water Supply: Ensure the water supply to the tank is turned off to prevent more water from entering.
2. Attach a Hose to the Drain Valve: If your tank has a drain valve, attach a hose to it and direct the other end to a suitable drainage area.
3. Open the Drain Valve: Slowly open the drain valve and let the water flow out. Be patient as this may take some time, depending on the size of your tank.
4. Use a Siphon Pump: If there is no drain valve, you can use a siphon pump to remove the water manually. Place one end of the pump inside the tank and the other end in the drainage area, then pump the water out.
5. Mop Up Remaining Water: Once the majority of the water is drained, use a mop or sponge to soak up any remaining water at the bottom of the tank.
By following these steps, you ensure that the tank is empty and safe to work on, reducing the risk of accidents or further water damage.
Gathering Materials and Tools
Having the right materials and tools on hand is crucial for a successful repair. Here’s a comprehensive list of what you’ll need:
List of Essential Tools
Chisel: To remove any loose or damaged concrete around the leak.
Wire Brush: For cleaning the area thoroughly before applying the repair mortar.
Trowel: To apply and smooth out the repair mortar.
Bucket: For mixing the repair mortar or other compounds.
Recommended Repair Products Available in NZ
When it comes to choosing the right products for the job, there are several highly recommended options available in New Zealand:
Concrete Repair Mortar: Look for a high-quality, waterproof repair mortar specifically designed for concrete tanks. Brands like Sika and Ardex offer reliable options.
Waterproofing Sealant: Applying a waterproof sealant after the repair can provide an extra layer of protection. Products like Bostik’s Waterproofing Sealant are excellent choices.
Epoxy Resin: For cracks and larger leaks, epoxy resin can offer a durable and long-lasting solution. Brands such as Megapoxy are well-regarded in NZ.
By preparing thoroughly and using the right tools and materials, you’ll be well-equipped to tackle the repair and ensure the longevity of your concrete water tank. Safety and proper preparation are key to a successful project, so take the time to gather everything you need and follow all safety guidelines.
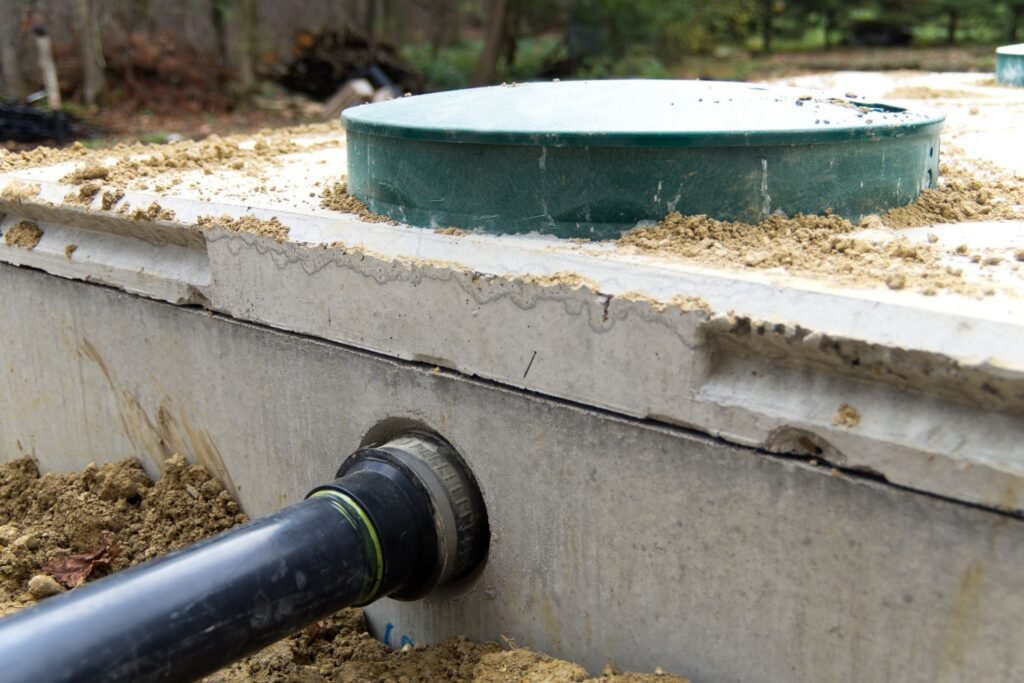
Step-By-Step Guide To Fixing The Leak
Step 1: Clean and Prepare the Surface
Before you start the repair process, it is crucial to clean and prepare the surface of the concrete water tank. This step ensures that the repair materials adhere properly and effectively stop the leak.
Removing Debris and Loose Concrete: Start by removing any loose concrete, dirt, or debris from the area surrounding the leak. You can use a wire brush or a chisel to scrape off any loose pieces. This step is essential because any debris left on the surface can prevent the repair materials from bonding properly.
Cleaning the Area Thoroughly: After removing the debris, clean the area thoroughly. Use a high-pressure washer or a stiff-bristle brush and water to remove any remaining dirt, dust, and grease. For stubborn stains, you can use a mild detergent. Make sure to rinse the area well and let it dry completely before proceeding to the next step.
Step 2: Apply a Waterproofing Agent
Applying a waterproofing agent is essential to prevent future leaks and ensure the longevity of the repair. Here’s how to choose and apply the right waterproofing agent for New Zealand conditions.
Types of Waterproofing Agents Suitable for NZ Conditions: In New Zealand, it is essential to choose a waterproofing agent that can withstand the local climate. Common options include liquid rubber, cementitious coatings, and polyurethane sealants. Liquid rubber is flexible and easy to apply, making it a popular choice for DIY repairs. Cementitious coatings are durable and ideal for larger areas, while polyurethane sealants are excellent for sealing small cracks and joints.
How to Apply Them Correctly: Follow the manufacturer’s instructions for applying the waterproofing agent. Typically, you will need to apply the agent in multiple layers, allowing each layer to dry before applying the next. Use a brush, roller, or sprayer to apply the waterproofing agent evenly over the cleaned area. Make sure to cover the entire area around the leak, extending the application a few inches beyond the crack to ensure complete coverage.
Step 3: Repair the Crack
The method you use to repair the crack will depend on the size of the crack. Here’s how to address both small and large cracks.
Methods for Small Cracks: For small cracks, using a sealant or repair mortar is usually sufficient. Apply a high-quality concrete sealant directly into the crack, ensuring it penetrates deep into the fissure. Use a putty knife or trowel to smooth the sealant and remove any excess. If using repair mortar, mix it according to the manufacturer’s instructions and apply it to the crack, pressing it in firmly to ensure a good bond.
Methods for Large Cracks: Large cracks require more extensive repair techniques, such as injection or patching. Injection involves using a specialized epoxy or polyurethane foam that is injected into the crack to fill and seal it from the inside out. This method is particularly effective for deep or wide cracks. Patching involves cutting out the damaged area and filling it with fresh concrete or a repair mortar. Apply the patching material in layers, allowing each layer to set before adding the next, and smooth the surface to match the surrounding concrete.
Step 4: Reinforce the Repair
Reinforcing the repair ensures that it is robust and durable, preventing future leaks and extending the life of the water tank.
Adding a Reinforcing Layer if Necessary: Depending on the severity of the crack and the repair method used, you may need to add a reinforcing layer. For example, after patching a large crack, you might apply a mesh or fabric layer embedded in the final layer of repair mortar. This added reinforcement helps to distribute stress and prevent the crack from reopening.
Ensuring the Repair is Robust and Durable: To ensure the repair is strong, follow all curing instructions for the materials used. Protect the repaired area from water and extreme temperatures during the curing process. Additionally, applying a final coat of waterproofing agent over the repaired area can provide extra protection and help prevent future leaks.
By following these steps, you can effectively repair a leaking concrete water tank and ensure its durability for years to come. Regular maintenance and inspection will also help you catch and address any potential issues before they become significant problems.
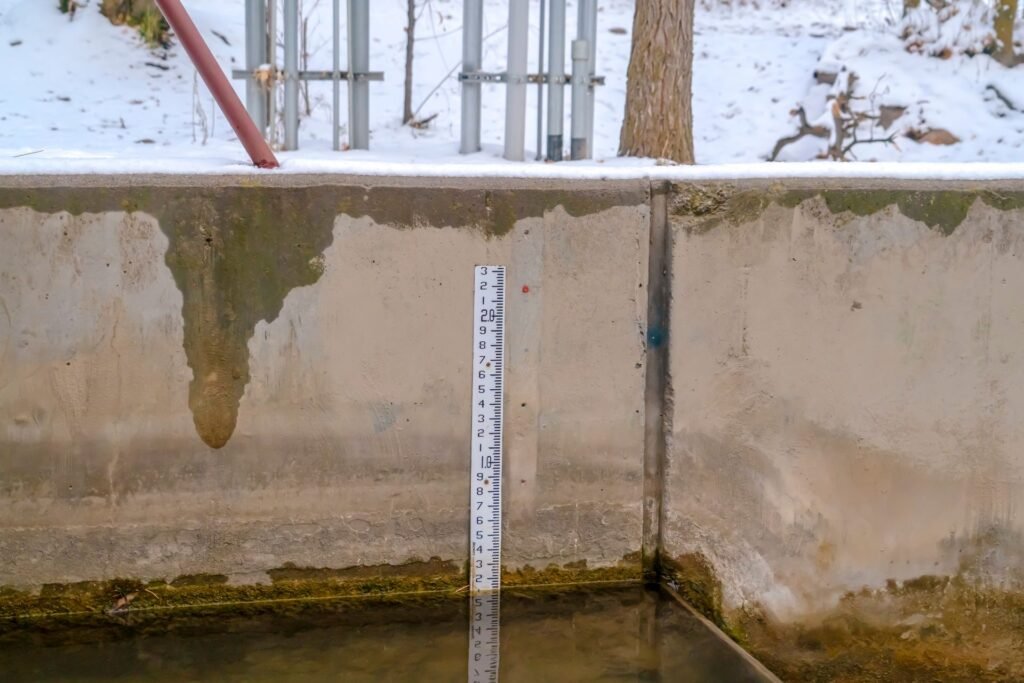
Post-Repair Considerations
Curing Time and Process
After repairing your leaking concrete water tank, it’s crucial to allow sufficient curing time before refilling it. Curing is a vital step in ensuring the repair material sets properly, achieving maximum strength and durability.
How Long to Wait Before Refilling the Tank
Typically, the curing time for concrete can range from a few days to several weeks, depending on the type of repair material used and environmental conditions. For most standard repair materials, a minimum curing time of 7 days is recommended. However, always refer to the manufacturer’s guidelines for specific curing times.
Proper Curing Techniques
To ensure the repair is successful, it’s essential to follow proper curing techniques:
Moisture Maintenance: Keep the repaired area moist. This can be achieved by covering the repair with wet burlap or plastic sheets. Consistent moisture prevents the repair material from drying out too quickly, which can lead to cracks.
Temperature Control: If the repair is done during hot weather, ensure the area is shaded and kept cool. In cold weather, the repair area should be protected from freezing temperatures as this can compromise the integrity of the repair.
Testing the Repair
Once the curing process is complete, it’s time to test the repair to ensure the leak has been successfully fixed.
Refill the Tank Gradually and Monitor for Leaks
Begin by gradually refilling the tank with water. This slow process allows you to monitor the repair site closely for any signs of leakage.
Incremental Filling: Start by filling the tank to a quarter of its capacity. Check the repaired area for any leaks. If no leaks are observed, fill the tank halfway and repeat the inspection. Continue this process until the tank is fully refilled.
Observation Period: After each incremental fill, observe the repair site for at least 24 hours. This observation period helps identify any slow leaks that may not be immediately apparent.
Additional Steps if the Leak Persists
If you notice any leaks during the testing phase, further action will be necessary:
Leak Source Identification: Carefully inspect the repaired area to determine the exact source of the leak. Sometimes, the leak may not be directly at the repair site but could be due to adjacent areas that were compromised during the initial repair.
Additional Repairs: Depending on the severity of the leak, you may need to apply additional repair material to the affected area. Ensure that the same curing and testing procedures are followed for these subsequent repairs.
Professional Assistance: If the leak persists despite multiple repair attempts, consider seeking professional assistance. A specialist can provide a thorough assessment and recommend advanced repair techniques that may be beyond the scope of standard DIY repairs.
By meticulously following these post-repair considerations, you can ensure that your concrete water tank remains leak-free and fully operational. Proper curing and thorough testing are critical steps in extending the life of your water tank and maintaining the integrity of your water storage system.
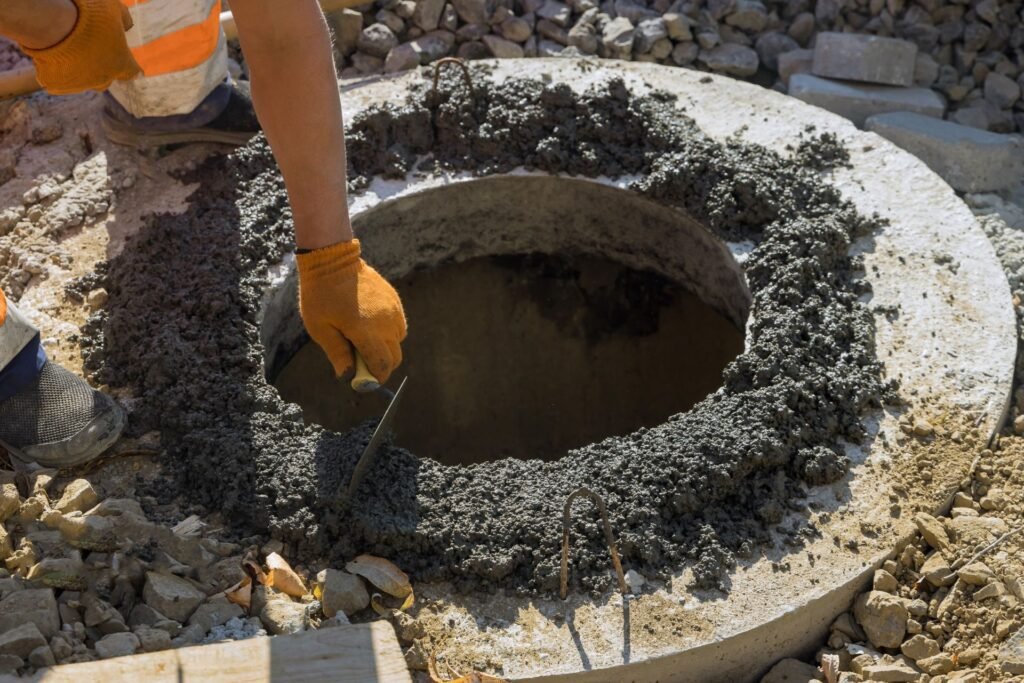
Preventive Measures
Preventive maintenance is crucial to ensure the longevity and functionality of your concrete water tank. By following these steps, you can avoid potential problems and costly repairs in the future.
Regular Maintenance Tips
Routine Inspections and Cleaning
Performing routine inspections is vital for identifying any early signs of wear and tear in your concrete water tank. Schedule regular checks, ideally every few months, to look for cracks, leaks, or any unusual changes in the structure. Early detection of minor issues can prevent them from developing into major problems.
Cleaning your water tank regularly is also essential. Over time, sediments and algae can accumulate, affecting water quality and potentially damaging the tank. Use a non-toxic cleaning solution to scrub the interior surfaces of the tank, ensuring that all residues are thoroughly removed. This not only helps maintain water quality but also prolongs the tank’s lifespan.
Keeping the Tank Environment Stable
Maintaining a stable environment around your water tank can significantly reduce the risk of damage. Ensure that the area around the tank is free from overgrown vegetation, which can cause moisture buildup and root intrusion. Additionally, protect the tank from extreme weather conditions by providing adequate insulation or a protective cover. This is especially important in regions with harsh climates, where temperature fluctuations can lead to concrete expansion and contraction, causing cracks.
Protective Coatings and Linings
Applying protective coatings and linings to your concrete water tank is an effective preventive measure. These coatings act as barriers, shielding the tank from potential damage and enhancing its durability.
Types of Coatings to Consider
Several types of protective coatings are available for concrete water tanks. Epoxy coatings are popular due to their strong adhesive properties and resistance to chemicals and water. Polyurethane coatings offer excellent flexibility and durability, making them suitable for tanks exposed to fluctuating temperatures. Cementitious coatings, which combine cement-based materials with waterproofing agents, provide an extra layer of protection against water seepage.
Application Methods and Benefits
Applying protective coatings typically involves a few key steps. First, clean and prepare the surface of the tank to ensure the coating adheres properly. Then, apply the coating using a brush, roller, or sprayer, following the manufacturer’s instructions. Allow sufficient drying time between each coat to achieve optimal results.
The benefits of using protective coatings are numerous. They provide a waterproof barrier that prevents leaks and water contamination. Additionally, coatings protect the tank from chemical attacks, abrasion, and environmental factors, thereby extending its lifespan. Regularly maintained coatings can significantly reduce the need for repairs and enhance the overall efficiency of your water storage system.
In conclusion, preventive measures such as regular maintenance and the application of protective coatings are essential for keeping your concrete water tank in optimal condition. By following these guidelines, you can ensure the longevity and functionality of your tank, safeguarding your water supply for years to come.
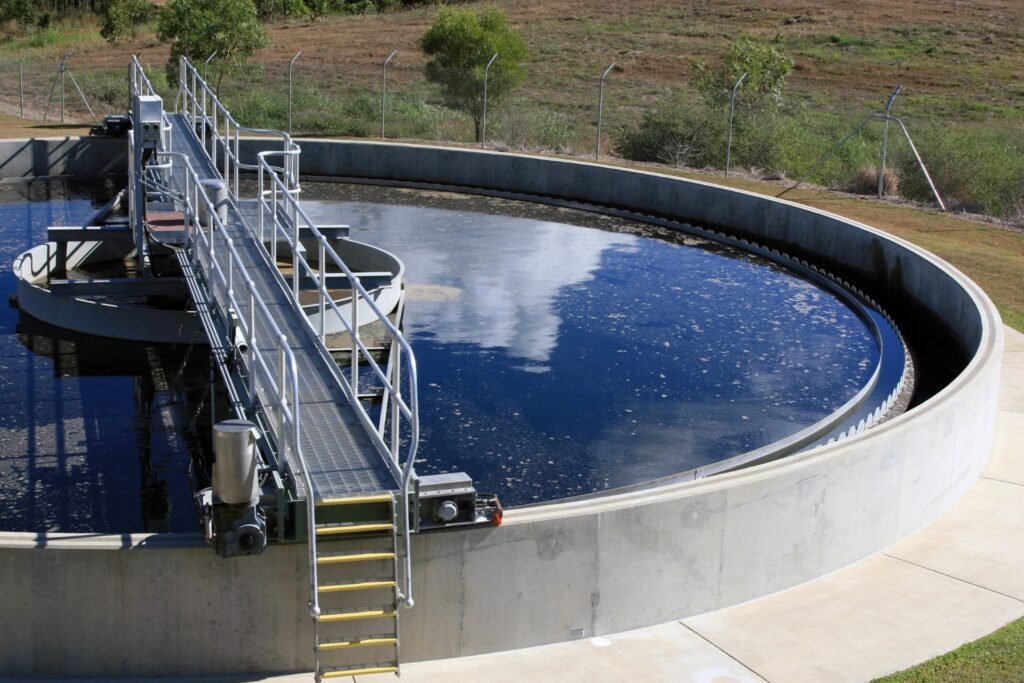
When To Call A Professional
Knowing when to call a professional for home maintenance or repair projects can save you time, money, and potential headaches. While DIY solutions are often tempting, there are times when the complexity of a task necessitates expert intervention. Here, we will explore how to assess when a professional is needed, tips for finding qualified professionals in New Zealand, and what you can expect in terms of costs and service guarantees.
Assessing the Complexity
When a DIY Approach May Not Be Sufficient
Home repairs can range from simple fixes to complex projects. While painting a room or unclogging a sink might be within your capabilities, other tasks may not be. Projects involving electrical wiring, plumbing, structural changes, or intricate installations often require a professional’s expertise. If you’re unsure whether you can handle a task, consider the following:
Safety Concerns: Jobs that involve electricity, gas, or significant heights should always be approached with caution. Mistakes in these areas can lead to severe injuries or property damage.
Specialized Tools and Knowledge: Some repairs require specialized tools and knowledge. For example, repairing a roof or fixing a foundation issue needs more than just basic handyman skills.
Regulatory Compliance: Certain home improvements must comply with local building codes and regulations. A professional will ensure that your project meets all legal requirements.
Indicators That Professional Help Is Needed
Sometimes, it’s clear that a professional is needed. Here are some signs:
Persistent Issues: If you’ve attempted a repair multiple times without success, it might be time to call in an expert.
Extensive Damage: Significant damage, such as water infiltration, cracks in the foundation, or widespread mold, typically requires professional assessment and repair.
Complex Systems: Issues with HVAC systems, electrical wiring, or plumbing are often beyond the scope of a typical DIYer. Professionals can diagnose and fix these problems correctly and safely.
Finding Qualified Professionals in NZ
Tips for Choosing the Right Service Provider
Selecting the right professional is crucial for ensuring high-quality work. Here are some tips to help you choose:
Check Credentials: Verify that the professional has the necessary licenses and certifications. In New Zealand, tradespeople such as electricians and plumbers must be licensed.
Read Reviews: Look for reviews and testimonials from previous clients. This can give you insight into the quality of their work and customer service.
Get Multiple Quotes: Don’t settle for the first quote you receive. Getting multiple quotes helps you understand the market rate and choose a provider that offers the best value.
Ask for References: A reputable professional should be able to provide references from past clients. Speaking with these clients can give you a clearer picture of what to expect.
Ensure Insurance Coverage: Make sure the professional has liability insurance. This protects you in case of any accidents or damage during the project.
Expected Costs and Service Guarantees
Understanding the potential costs and service guarantees can help you make an informed decision. Here’s what to keep in mind:
Cost Estimates: Request a detailed written estimate before work begins. This should include labor, materials, and any other associated costs. Be wary of quotes that seem too good to be true, as they may indicate subpar workmanship or hidden fees.
Payment Terms: Clarify the payment terms upfront. Some professionals may require a deposit, while others might offer a payment plan. Ensure you understand when and how payments are due.
Service Guarantees: Ask about service guarantees or warranties. Many professionals offer guarantees on their work, which can provide peace of mind. Ensure you get any guarantees in writing.
After-Service Support: Inquire about after-service support. A good service provider will offer follow-up services if any issues arise after the job is completed.
By carefully assessing the complexity of your project and selecting the right professional, you can ensure that your home repairs and improvements are completed safely, efficiently, and to a high standard.
FAQs: About How To Fix Leaking Concrete Water Tank NZ
What are the common causes of leaks in concrete water tanks?
Leaks in concrete water tanks can be caused by natural wear and tear, poor construction practices, environmental factors like earthquakes or soil movement, and chemical reactions within the concrete.
How can I identify a leak in my concrete water tank?
Signs of a leak include damp or wet spots around the tank, a drop in water levels without usage, and visible cracks. Tools like dye tests and pressure tests can help pinpoint the leak's location.
What safety precautions should I take before repairing a leaking water tank?
Always wear safety gear such as gloves and goggles. Ensure the tank is completely drained before starting any repair work to prevent accidents and make the process easier.
What materials and tools do I need to fix a leaking concrete water tank?
Essential tools include a chisel, wire brush, and repair mortar. Recommended products for waterproofing and sealing are available at local hardware stores in NZ.
How do I prepare the surface of the tank for repair?
Clean the area thoroughly by removing debris and loose concrete. Use a wire brush to scrub the surface, ensuring it's clean and ready for the waterproofing agent and repair materials.
What types of waterproofing agents are suitable for NZ conditions?
Look for waterproofing agents designed for concrete and suitable for New Zealand's climate. These can include sealants, coatings, and specialized waterproofing products available locally.
How do I repair small cracks in the concrete tank?
For small cracks, apply a concrete sealant or repair mortar directly into the crack. Ensure it is evenly applied and allowed to dry according to the product's instructions.
What methods can I use to repair large cracks?
Large cracks may require injection techniques or patching. Injection involves using a specialized product to fill the crack from the inside out, while patching involves applying repair mortar to cover and seal the crack.
How long should I wait before refilling the tank after a repair?
The curing time depends on the products used, but typically you should wait at least 24-48 hours to ensure the repair is fully set and waterproofed before refilling the tank.
What preventive measures can I take to avoid future leaks?
Regularly inspect and clean your tank, apply protective coatings, and ensure the surrounding environment is stable. Routine maintenance can help identify potential issues early and prevent future leaks.
Conclusion
In conclusion, fixing a leaking concrete water tank involves several critical steps and practical tips to ensure a successful repair. First, identify the leak and assess the extent of the damage. Thoroughly clean the area around the leak, removing any debris or loose material. Prepare the surface by dampening it slightly, ensuring better adhesion for the repair material. Apply a suitable concrete patching compound, carefully filling in the cracks and smoothing the surface. Allow sufficient time for the repair to cure properly before refilling the tank. Throughout the process, patience and attention to detail are key. Remember, with the right approach and materials, repairing a leaking concrete water tank is entirely manageable, restoring its functionality and extending its lifespan. So, don’t be discouraged by the task; you have the knowledge and tools to handle it effectively.
About the Author:
Mike Veail is a recognized digital marketing expert with over 6 years of experience in helping tradespeople and small businesses thrive online. A former quantity surveyor, Mike combines deep industry knowledge with hands-on expertise in SEO and Google Ads. His marketing strategies are tailored to the specific needs of the trades sector, helping businesses increase visibility and generate more leads through proven, ethical methods.
Mike has successfully partnered with numerous companies, establishing a track record of delivering measurable results. His work has been featured across various platforms that showcase his expertise in lead generation and online marketing for the trades sector.
Learn more about Mike's experience and services at https://theleadguy.online or follow him on social media:


